The principle of fastening strings on the tuning peg of the tuning mechanism is similar to attaching them to a bridge – the string should be gripped with a tightening loop. The stronger the strings are pulled, the tighter the loop holds. Undoubtedly, the number of windings around the peg has some mening because it provides additional friction that holds the string.
As for removing old strings, there's not much to say – you unscrewed, pulled them out, and discarded them.
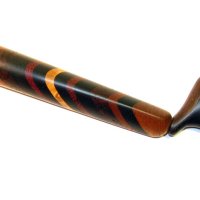
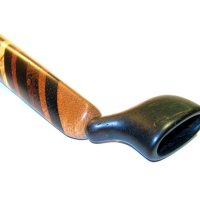
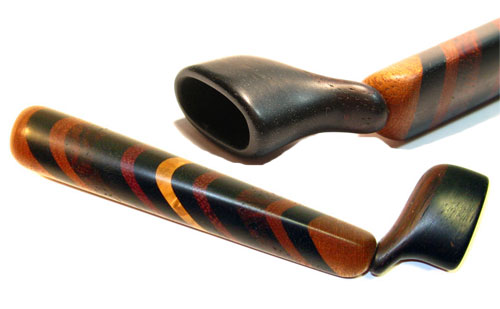
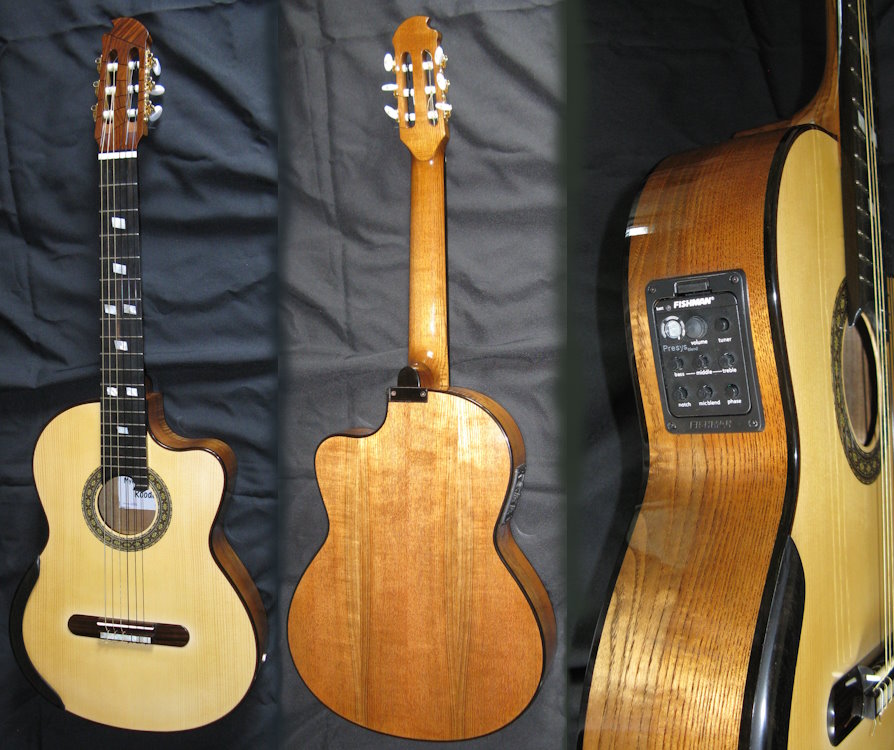
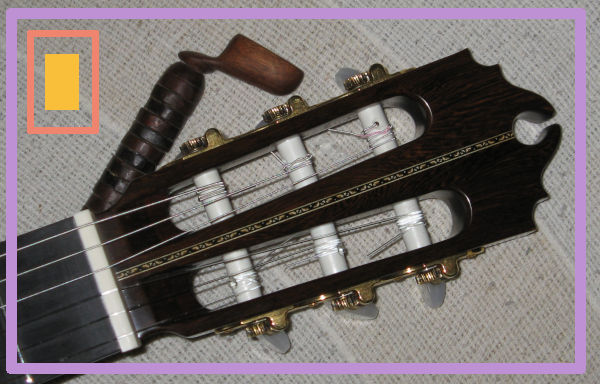
It's very convenient to use special string winder for turning the tuning mechanism, which you can purchase or even make yourself (like I did it:) from ebony, amaranth and Indian rosewood. Unfortunately, the mother-of-pearl button on the handle end is not visible. Replacing guitar strings with such a string winder is a real pleasure. You can find an article here on Roodenko.com where I show the strings winders made by me.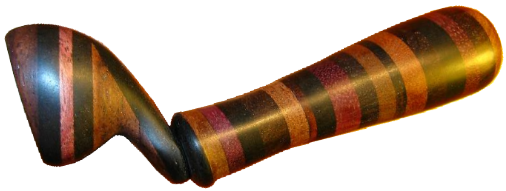
The sequence an rules of string installation
First of all, which string after which one. The order of string installation on the guitar's tuning pegs is not crucial, but it's more convenient to start with the 1st and 6th strings, moving in order, so that already installed strings won't interfere with installing the next ones. In other words, the order for the strings is as follows: 1st, 2nd, 3rd, and 6th, 5th, 4th or in pair 1st, 6th and so on.
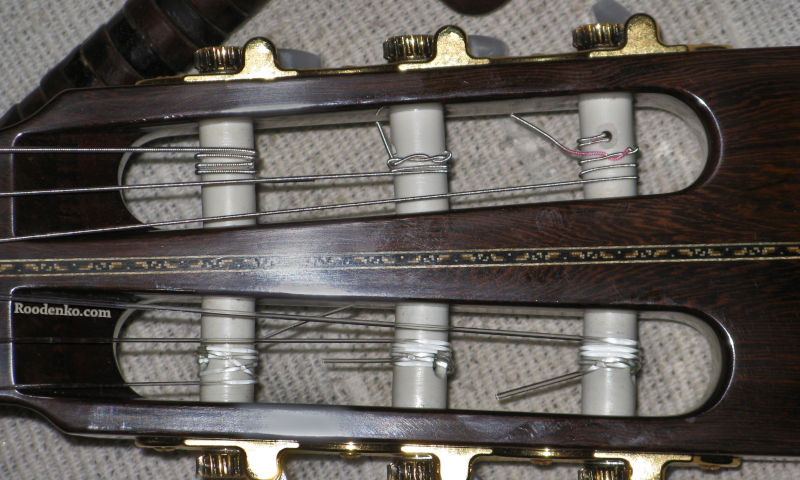
Watch direction in which you wind the strings. To avoid a significant string skewness, after inserting them into the peg holes, make sure to guide the winding in the appropriate direction. The direction is clearly shown in the image with the red arrows. The 1st and 6th strings wind towards the edges because they're at the edges of the fretboard, while the rest wind towards the middle. 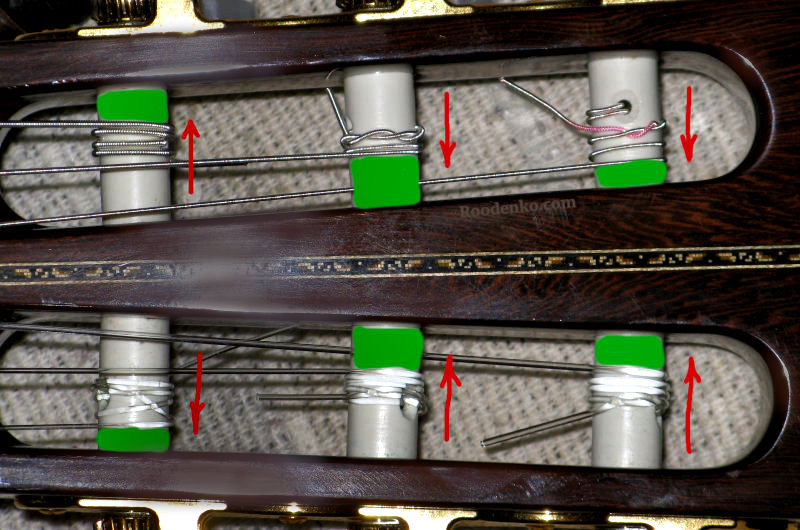 Wind the string in a way that the coils don't start pressing in the gap between the peg and the headstock. Don't wind too much of string length. So consider this when you are choosing the string length. Leave some space before headstock body. See the green area in the picture above. In the photo above the strings already on the full tension.
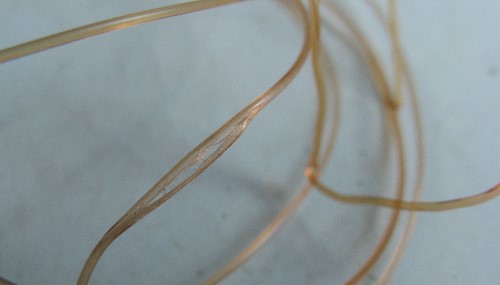
If the string would be tucked between the peg and the headstock, it can be spoiled. The illustration shows an extreme case when the string was even splitted.
Rotate machine head pegs properly. Better see the picture. The blue arrow in the picture indicates the direction of peg rotation. The red lines represent the strings. 
Tying the string to the peg
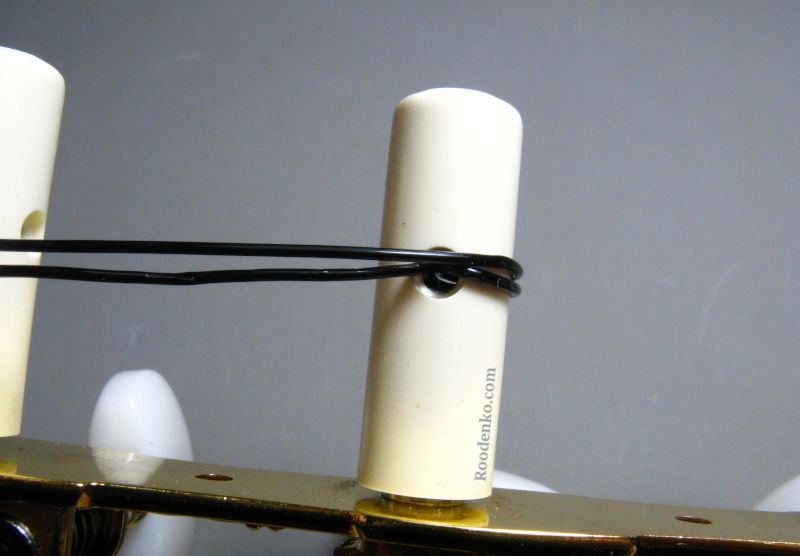
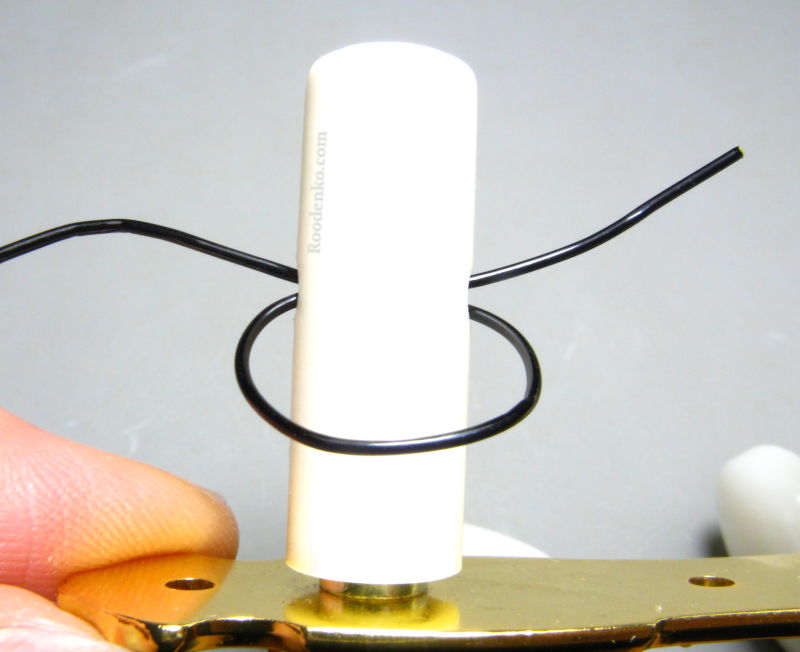
Hold the string slightly under tension so that the knot on the bridge doesn't unravel. The string is threaded once or twice in the peg hole, I make twice for the 1st and 2nd strings usually. Avoid winding too much string on the peg, ensuring that the coils are neatly placed next to each other. Usually the length of the strings is excessive. For start I took photos for tying the second string.
(I decided I don't need guitar for this photo session:) 
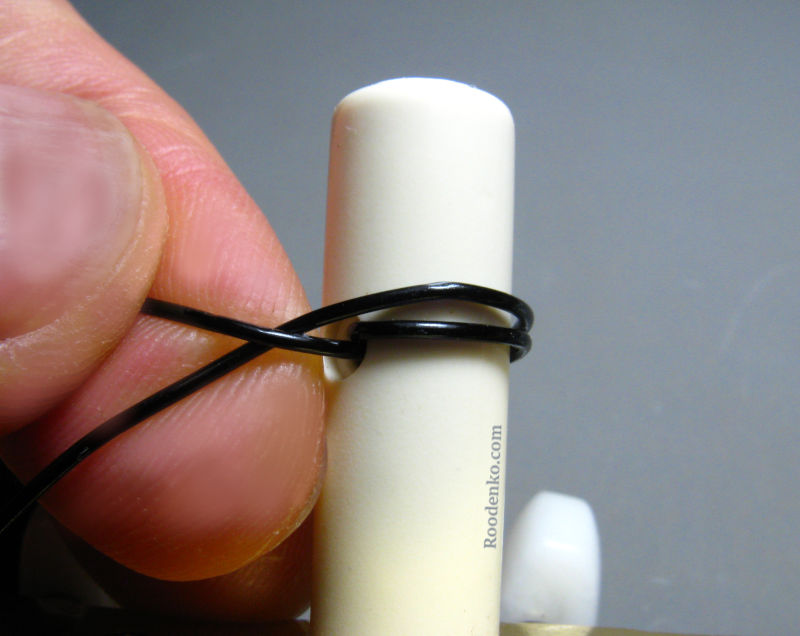
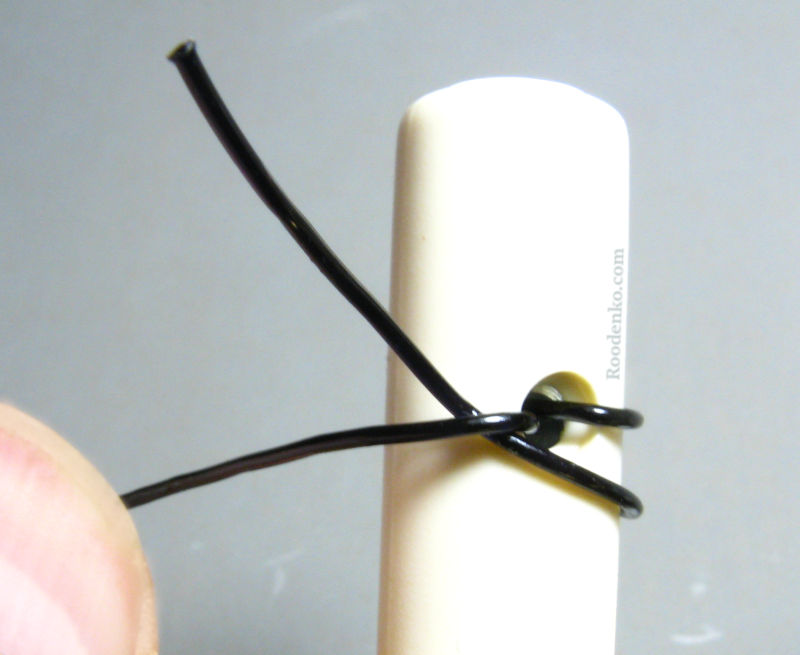
 Pull up the loop and wrap the free end around the string and start winding it. The string should start coiling together with its tail.
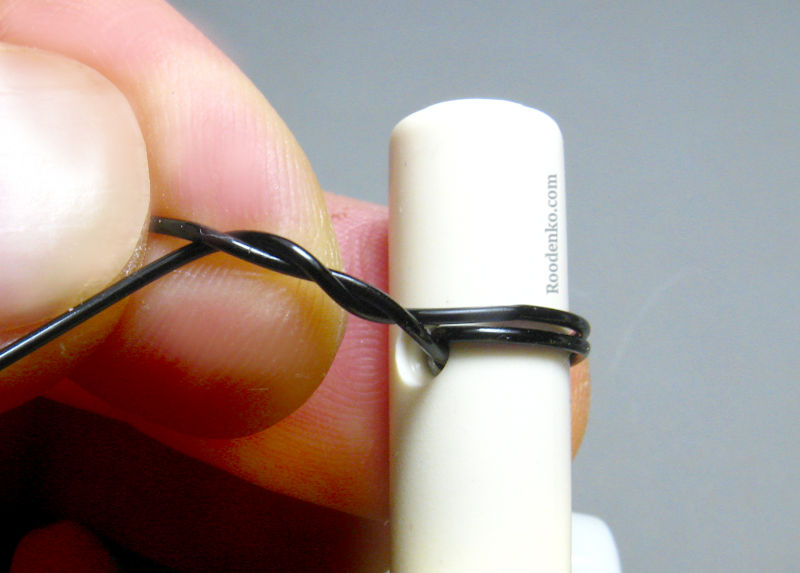
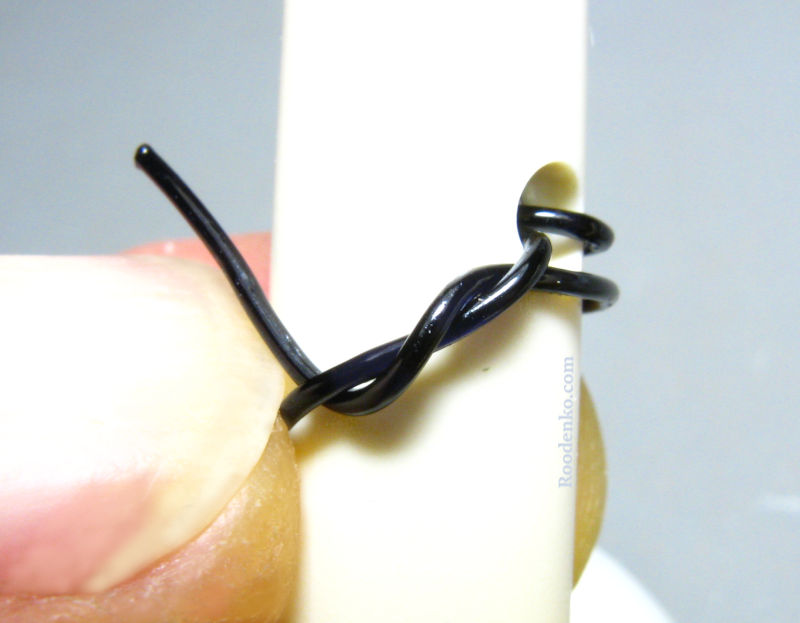
A couple of overlapping loops should suffice. After the tail has been crossed, lead it in the opposite direction of winding and neatly stack the string coils one after the other. Don't forget to stretch the string with your hand until it tightens on its own.
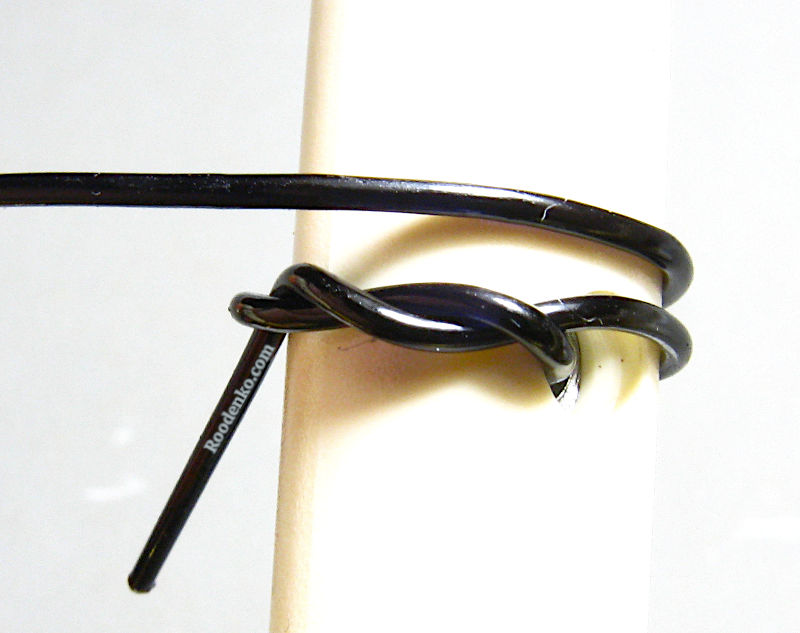
In the photo above you can see finished knot that is appropriate for every string. I inserted the string into the peg hole only once in this photo. This can be position when the string already on the self tension.
I mentioned above that direction of coiling for the 1st and 6th strings different from others. The rule is don't skew the string too much between the saddle and peg to prevent excessive overlapping the coils.
Next the photos of tying first guitar string on the machine head. I inserted string twise and coiled it in the direction of the saddle string slot.

Many find long string tails charming. It's your choice, just ensure that the tails don't start winding somewhere. They can also rattle against the strings, so guide the loose ends to safe areas.